Wednesday, July 18, 2012

Here are the stools and table in my work room. I have been trying to spice up my space and update it. My new work table and roman shades have made a good start on it but I had this furniture that needed help.


After researching options for painting, I tried making my own chalk paint. Here is the recipe to make the paint. 1 part Plaster of Paris thinned with water to make consistency of the paint. Then after it is mixed smooth with no lumps, I added 3 parts of the paint and mixed well. I did not prime the wood but I did wash it down to get a good clean finish to it. I applied 2 coats of paint, a coat of wax, rubbed antiquing, and then stenciled, I then did a light sanding to give it that weathered look. I finished with another coat of wax. This whole project I was able to do in a day. I was really pleased with the outcome....What do you think?


One Person's trash is another Woman's treasure!

My curb find as I was driving down our street. Ugly right? Looks like junk? To me this is a treasure to restore.

Sunday, March 4, 2012

Car shirts

My daughter-in-law gave me a picture of a cute shirt that held matchbox cars. She wanted me to make one for grandson Creed for Christmas which I also did for grandson Ryker. This was so easy to make and were a big hit with the two grandsons Creed and Ryker. It was fun watching them wear their shirts and put their little cars in the pockets.


Here is Creed with his pockets full of cars!

Apple Pie Baked in Apples

I made these fun little apple pies with the help of my grandsons. It turned out to be fun and very delicious too!

Preheat oven 350 degrees.
5-6 apples (depending on how many you need)
1 teaspoon cinnamon
1/4 cup sugar
1 T. brown sugar
Pie crust (home made or store bought)

I cut off the tops of 6 apples (that's how many people I was feeding.) I cut out the core the best I could. Then I used a melon baller to scoop out the rest of the apple, being careful not to puncture through the peel.

Take the scooped out apple and cut any big pieces into small chunks and add the cinnamon and sugars to it. Spoon into the hollowed out apples. If you do not have enough apple chunks for filling, cut up another apple to make enough. I had plenty to fill up what I hollowed out from my 6 apples.


I then made my own pie crust using a recipe for one single crust. I cut the lattice strips using this fun cutter that my daughter-in-law had. (I was cooking in her kitchen) I think it might be a cheese cutter but it made a great ruffle look to the edges.


Here is one very excited little boy helping his grandma make these little pies. He enjoyed helping me with every step of the process, especially cutting the lattice pieces.

We then wove the pie crust strips over the apples and placed in a pan. Fill the pan with water, just enough to cover the bottom. Then place foil over the top. Cook at 350 for 20 minutes then remove foil and cook for another 20 min. or until the crust is golden brown.


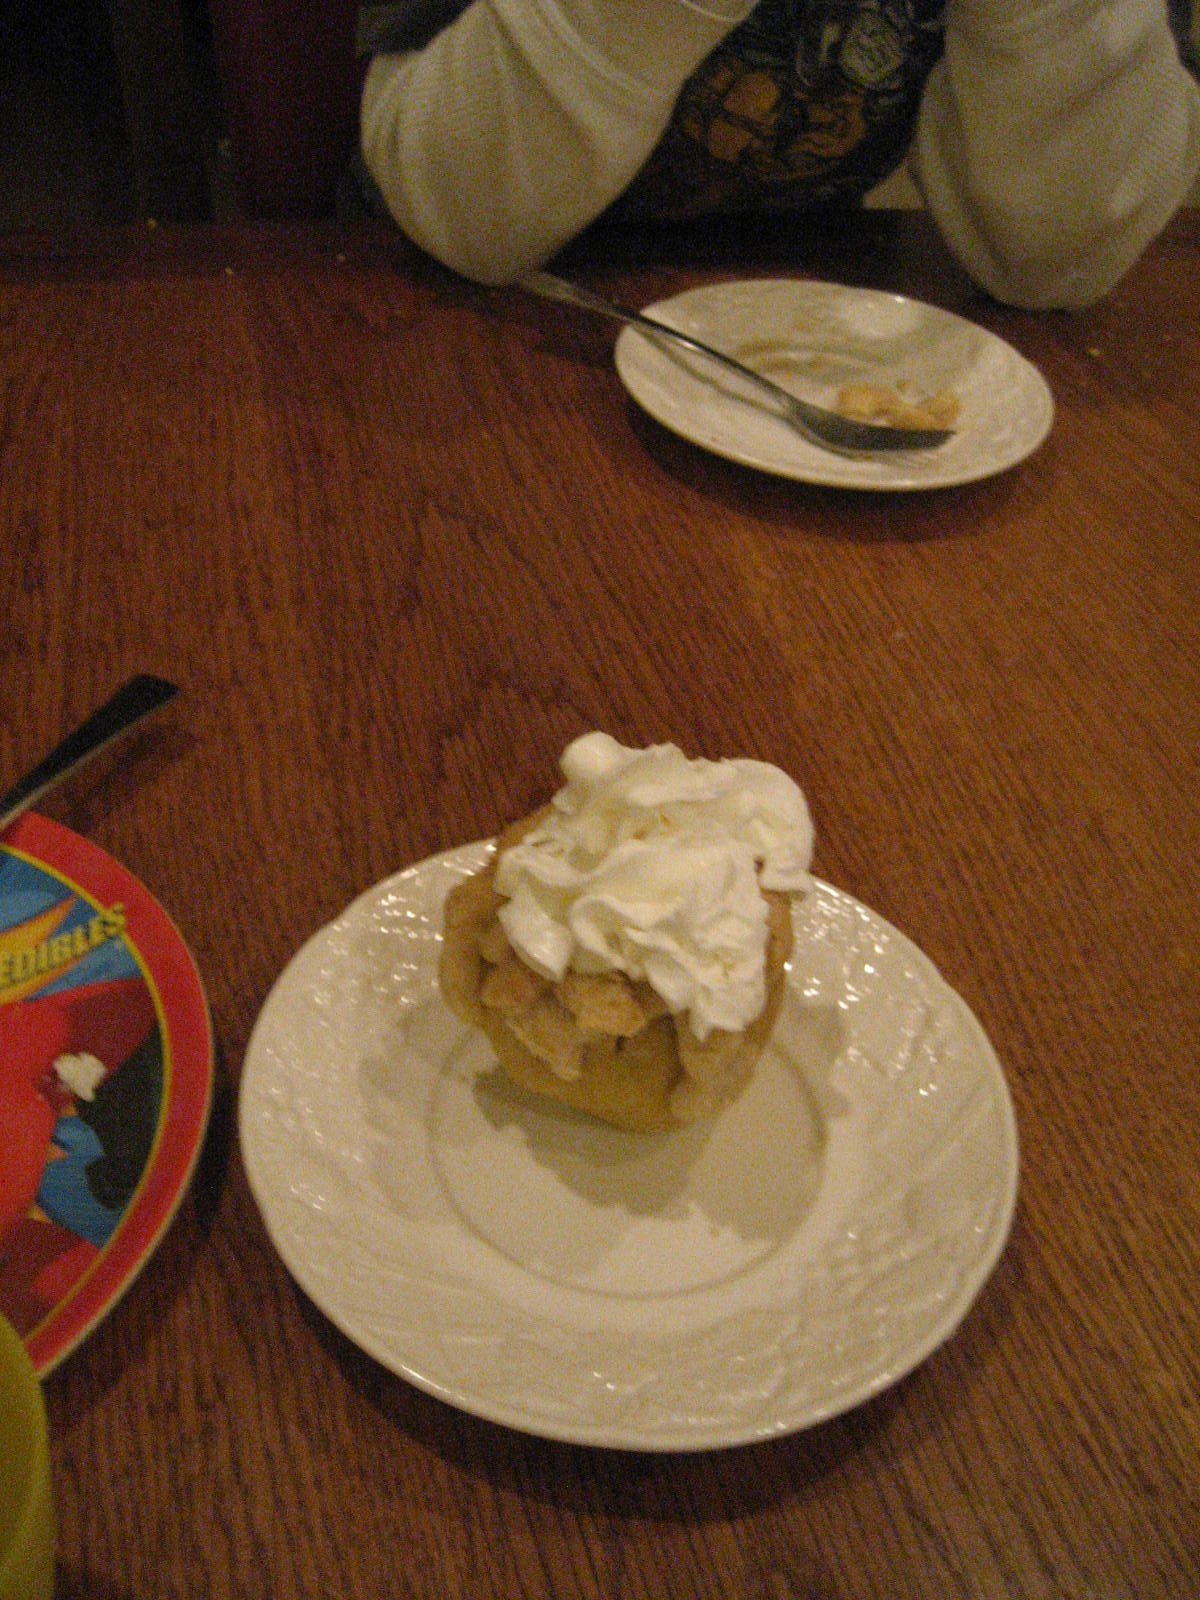
Can be served warm or cold, whatever you prefer. I thought it would have been delicious to put a scoop of ice cream on top of the hot pies but atlas we had none. When I voiced that, my grandson, Curtis ran and got a can of whip cream which was a perfect addition to our little pies.

All four grandsons and my own son thought these were so delicious!! It was also a fun dessert and especially fun to make together. And forks did not work as well as using our fingers!!!

Saturday, February 18, 2012

Roman shades from old mini blinds

Here are my old broken, dirty mini blinds in my basement/work room. They look ready for the trash but thanks to my new favorite site, Pinterest, I got the idea to make them into Roman shades.


You will need fabric, mini blinds, and fabric glue/hot glue gun. Lay out the fabric and cut it the size needed. I measured the size of window and mini blind and added 2 inches to the width and 5 inches to the length. My shades were 55" long by 35" wide so I cut a rectangle that was 60" long by 37" wide.


Take the old mini shade and take the bottom clips off and untie the strings. Then clip the strings that hold the slats in place.


Remove all the slats and the bottom end. Lay the top and bottom of shade out to the length you want. Take the amount of slats needed to glue to shade. As you can see, my slats were dirty so I cleaned the ones that I needed and trashed the others.


I first serge all sides of my rectangle and then I sewed a one inch hem on the width sides. It is not necessary to hem the top or bottom of fabric if you serge it. Another option if you do not have a sewing machine is to use the iron on hem tape to finish the edges.


Lay out fabric and glue top part of shade to top of fabric using the fabric glue. I then hot glued the edge of fabric around the top. Measure from the top the distance that you want the slats. I put mine 10" apart using 5 slats but you might want to divide the length of your fabric by how many slats/folds you want on your shade. Put the pull strings through the holes on the slat before you glue to fabric. Attach the pull strings to the bottom end of shade and tie to correct length and insert the clips that you had removed.


Spread glue with brush to make it smooth then lay on fabric and press down. Make sure that you do not put glue over the holes so that the strings will be glued too. I found the glue dried quickly. When all slats are glued on, glue the end of shade to the bottom with fabric glue and then hot glue the edges up. They are now ready to hang!


The finished shades!
They pull up so nice and look great.


They pull down great too! I love them and my work room is starting to look really awesome. Now to paint!

Two year old shirt!

Ryker turned TWO!! Woo Hoo! So gave me another chance to make a special shirt for this cute little grandson. I looked everywhere for a plain long sleeve shirt and could not find one. They all had writing and pictures on the long sleeve shirts. When I was about to give up and do a short sleeve shirt, I ran across this cute shirt from Carter's with a bear. There was room to put the 2 and his name. Since the bear set the theme, I went with a brown and white zebra striped fabric for the two.


And here is the birthday boy, Ryker! Happy 2nd birthday to my little man!


Thursday, January 26, 2012

Work Table

I love Pinterest! I am getting so many neat ideas from the site but it also motivates me to do them. I have been in need of a work table for years. Since I have my own upholstery business, I really needed one. I had designed one in my head but never got around to doing it. Then I saw a work table on Pinterest that motivated me to make one. Well, I should say, get my husband to make me one! He is a busy man, so the best way to get one was to tell him that I wanted one for Christmas.

The table on Pinterest used book shelves as the end bases and then the table top was made out of doors. I bought 4 shelving units from Menards; two have cubbyholes and two have straight shelves

Here is my sweet husband putting the shelving together.


He then screwed the units together and put two 30" doors for the top. He anchored the doors to the units to make it sturdy.
Here is the end with the book shelf units. I also ordered a cutting mat to fit the top. I ordered the size 5' X 8' and then we had to cut it down to fit.

Here is the other end with the cubbyhole units.


I had him add a lower shelf between the two ends so I would have a place to store all my rolls of fabric. The pinterest table was made with shorter shelving but I really like it tall. I am only 5'4" but I can either just sit on the bar stools or when I am standing and measuring/cutting fabric, I do not have to lean over so really saves on my back.


The final touch was adding a grid under the cutting mat. It is AWESOME! It is so easy to measure and cut when I have this grid. I used permanent marker to write measurements so it is easy to measure out my fabric.


And here it is! I LOVE IT! I can't even begin to tell you how fun it is to do projects on it. I will be blogging about the Roman shades I made (another Pinterest idea) and let me tell you, doing it on this work table was a joy!