Monday, December 5, 2011

Snowmen Cookies

I love Pinterest! There are so many great ideas on it and here is one. It is snowmen cookies and here is the site to go to on how to make them: http://www.crazydomestic.com/2010/12/melted-snowman-cookies.html

I used store bought sugar cookie dough as one site recommended to do which made it so easy. I shaped them into balls and flattened down and into a shape to resemble a puddle.

This is royal frosting that I made to give the melting snow effect; bought the Wilton Meringue power mix at Hobby Lobby to make the royal frosting.

Once the frosting is on, microwave large marshmallows for about 20 seconds or just until they start to puff up. Make sure you use lots of shortening on the wax paper that you put the marshmallows on. Also, use a lot on your hands as you pick up the marshmallows to put on the cookies. Decorate with frosting and here they are! Turned out so cute and they are tasty too!


Wednesday, November 16, 2011

Heavenly Potatoes


Another Pinterest success!! These potatoes were a huge hit all around. I just used a regular baking potato, sliced it in thin strips, making sure not to cut all the way through. This makes the accordion shape. I then put butter between each slice, topped with olive oil - to give the skin that nice crunch, added garlic salt, pepper, and topped with coarse sea salt. They were put in the oven at 425 for over an hour. Delicious!!!


Tuesday, November 15, 2011

Sheets in a Pillowcase


I must confess. I am addicted to Pinterest!!! I could spend hours just scrolling through all the wonderful ideas and pictures that are out there. My husband was a little less than enthused with my new hobby, that is until I made one of the recipes that I found on that incredible little sight, which I will post about later. :) All of a sudden, even he was a huge fan.
Anyways, one of the ideas that I found and tried was the folding sheets and putting them in one of the pillow cases. I have never liked the way a fitted sheet looks when folded. Even if I do all the tricks to make it look like it's flat partner, it just has a messy feel.
So I tried the sheets in pillowcase thing last time I washed my sheets and I have to say, I love it! It looks even better in my linen closet. Also, I don't have to worry if I have all the pieces to the sheet set when I go to make the bed, because they are neatly contained in the pillow case. Thanks Pinterest!!!


Monday, November 14, 2011

Happy 2nd Birthday Madelyn

Emily wanted a birthday shirt for Maddy's 2nd birthday which is coming up on Nov. 22. I found a cute skirt on the 75% off rack at The Children's Place that ended up only costing $6.00. I bought two skirts so that I would have one to cut up to use in the applique. Here is her 2 yr. old shirt.

And now the total outfit with the cute corduroy skirt.

I decided to do another shirt that was not personalized so later her baby sister will get to wear it. Also, thought that she would wear the skirt more if it had a neutral shirt to go with it. I also took some extra material and made rosettes for her hair that I hot glued hair clips to them.

Grandchildren Thanksgiving Shirts

Thanks to Pinterest, I got this cute idea to make Thanksgiving shirts for some of the grandchildren. It is done with ribbon and applique; and was very time consuming. I do hope they enjoy wearing them because they are made with love from Grandma!

Monday, November 7, 2011

Fall Fruit Arrangement

I was asked to bring fresh fruit to a lunch the other day. I decided to be festive and instead of a bowl of fresh fruit, I put them on wooden skewers. I wanted to be fancy so came up with this idea to display the fruit. My original idea was to use a decorative squash to set on top of pitcher with the wooden sticks stuck into it. As you can see in picture, the squash became a part of my fall decoration, as it proved to be too hard to stick the skewers into it. So when that failed, I took a piece of Styrofoam and put it in the top of pitcher.
The only thing I would do different is not to assemble until I got to the lunch location. It proved to be hard to travel in this condition.

Thursday, November 3, 2011


Yep, there he is. Isn't he just adorable!?! This handsome man is the reason I received my golden, engraved invitation to participate in this blog. You see I am the daughter in love. Yes, it's okay that I call myself that, I cleared it with his mama. :) We have enjoyed almost 11 years together and I am so thankful he decided I was "the one." One idea that I have had during our marriage is what I call the Love Journal.
This little journal is the home for the little sweet nothings that I don't want to forget. We have written the long mushy notes that cover pages. :) We have also written the quick, "I love your smile" kind of notes. We have written notes when love has been more of a choice than a feeling and we have written notes when our hearts were so full that it had to spill over somewhere. And I have it all, cataloged for myself when I need to look back and remember where we have been. Because it is good to remember!
Hope you liked this little idea and maybe it will inspire you to create something to remind yourself of the things we really do love about our spouse. :)

Cardboard Castle

For my daughter's princess party I built this box castle. I contacted sears and they gave me two range boxes that I cut the doors and windows out. I used the scraps to make the arch in the front. I covered it all in gray paint and drew on the brick with a black permanent marker. I then had my sister-in-law Elina, who is an artist to paint the vines and flowers on it.


Posted by Picasa

All the girls came dressed as princesses and I had found a princess kit that was 50% off at Walmart. It included 4 tiaras. bracelets, earrings, scepters, and microphones. They all had a blast being princesses and playing in the castle.

Posted by Picasa

Princess Cake

I was just looking at our blog and my daughter Amariah saw that her brother's cake was posted and she wanted to know where hers was. So here it is! For her third birthday we had a princess themed party with castle and all. I just purchased this kit with the doll top and pan. It was really simple to do as I made the flowers in advance with royal frosting. The day before the party I frosted the cake with buttercream, added the flowers and finished off the small details with tip 4.


As you can tell she really loved her Princess cake!

Posted by Picasa

Monday, October 31, 2011

Jello Worms

Okay, today is Halloween and I must confess one of my least favorite holidays. Now that the kids are gone, it's just me and Mercy to answer the door all evening and I'm sure Mercy is going to have mixed emotions; loves kids but their costumes just might freak her out. Now Mark is no help because he has a meeting tonight...who does that on Halloween..yep Mark!

Anyway, I am having fun making some (I hope) delicious food for supper from sites I have seen on Pinterest. I have a potato soup in the crock pot and plan to do one of those blossom looking breads. But for fun since it is Halloween, I decided to make the jello worms to surprise Mark.

Well, I clicked on the site and didn't find how to do it so I think, "how hard can it be?" So I make up my jello and start trying to fill each straw...ya right! It's sort of like nailing jello to a tree.So with my life's motto, "When all else fails, read the directions!" I got online and goggled jello worms. Here is a good site:http://www.macheesmo.com/2009/10/bloody-worms-of-doom/

It tells to attach 100 straws together with a rubber band and put in an empty qt. milk container. I looked through my trash and found a plastic V8 juice bottle so I cut the top off and inserted my straws, by the way I did not count how many I had. I spooned the jello on top of the straws and refrigerated.
Now for the fun part...NOT! First was to cut away the plastic container which ended up being the easy part.Next was trying to get the jello out of the straws.The directions were of no help and if you think Mercy is looking worried, I think she was. I'm sure she is wondering if I was going crazy! Seriously, who thought up this idea anyway. My fingers were not only covered in blood looking jello but slimy and slippery as all get out. I am sure my arthritic finger has just advanced to the next stage. I finally got the brilliant idea to quickly run the straws under hot water and WOW that did the trick, they slid right out.


And here they are! Seriously gross looking! Well, Mark came home and well let's just say he hesitantly took a bite. Always the good sport, but think this one stretched him. He did say, "tastes good" but then it is jello.
And here is my crock pot potato soup. Mark said it was good but frankly, I have made better. It was a really easy recipe and used frozen hash browns that I already had in the freezer but don't think I will use it again. And for the blossom bread...that didn't happen, those silly worms took too long so Mark ended up with some rolls pulled from the freezer.
And now as I type this, I am sitting in the dark! Yep, ran out of Halloween candy! I know most of the kids that came are not from my neighborhood. I had so much candy too!!! Got to love this holiday! So my Halloween meal was well....you can guess. Will I do the worms again...NO! Sorry Curtis, Colton, and Cannon, I really thought this would be a fun thing to do for you boys.

Sunday, October 30, 2011

Old "Granny" rocker to a Chic Zebra rocker

One look at this old rocker and what do you see? Dated? UGLY for sure! What I see is great BONES! What I mean by bones is that the frame has great potential to change into a stylish chair. I found this rocker in a second hand store in Salina, KS for $10. Wow, as I look at this pic I also see a very dated milk can in the background along with dated wall paper. Fortunately, those no longer grace my entryway but it does tell me how long I had this chair before I finally recovered it. Wallpaper and can have been gone for a long time, but guess I was just waiting (not procrastination) for the right home for it and the right person to see the vision with me and that person was no other than my stylish daughter, Emily. It now sits in her living room.
First thing I did, was remove the arms. After stripping, I added lots of Dacron padding and of course this awesome fabric. By taking away the front band that was on the old, I made one piece for the seat which gives a nice clean look. Also, did away with the buttons so as not to distract from the pattern.

Here is another chair that I recovered for a customer and did the exact same thing with it, removed arms, etc but she did want buttons in the back. This project would be an easy start for anyone interested in learning how to upholster.

Poppin' Fresh Barbecups


I want to share our lunch with you today. This is one of my family's favorite recipes and it is so simple and easy. Someone brought these tasty cups to our family after the birth of, I think, Emily. It has been a favorite ever since. They are quick and easy to make when you need a fast meal, but they are even better to make as a big batch and freeze. Just pop them out of the freezer and microwave for 1 min. and woo-la...lunch is ready. Today was one of those days and I was in no mood to cook. Being just the two of us now, I have lots of those days but it was wonderful to open the freezer and see a bag of these cups. Hope you enjoy!

3/4# ground beef
1/2 c. BBQ sauce (like the honey flavor best)
1 T. minced onion
2 T. brown sugar
1- 8oz. can refrigerator baking powder biscuits
3/4 c. shredded cheddar cheese
In large skillet, brown beef; drain and add BBQ sauce, onion, brown sugar. Grease muffin cups and stretch 1 biscuit over cup then drop a lg spoonful of meat mixture onto biscuit and let drop into muffin cup. Sprinkle cheese on top. Bake at 400 for 10-12 min. until lightly brown. Do not over cook. Makes 10 cups.

Saturday, October 29, 2011

Tulle Tutus.... YES PLEASE!

Tulle tutus are a fun, easy project and look adorable on little girls. If you are like me, you probably love pretty frills on little girls, but do not have a whole lot of extra time on you hands, these tutus only take about 30 minutes to make.

Not the best picture of Maddy. She was in dire need for a nap,
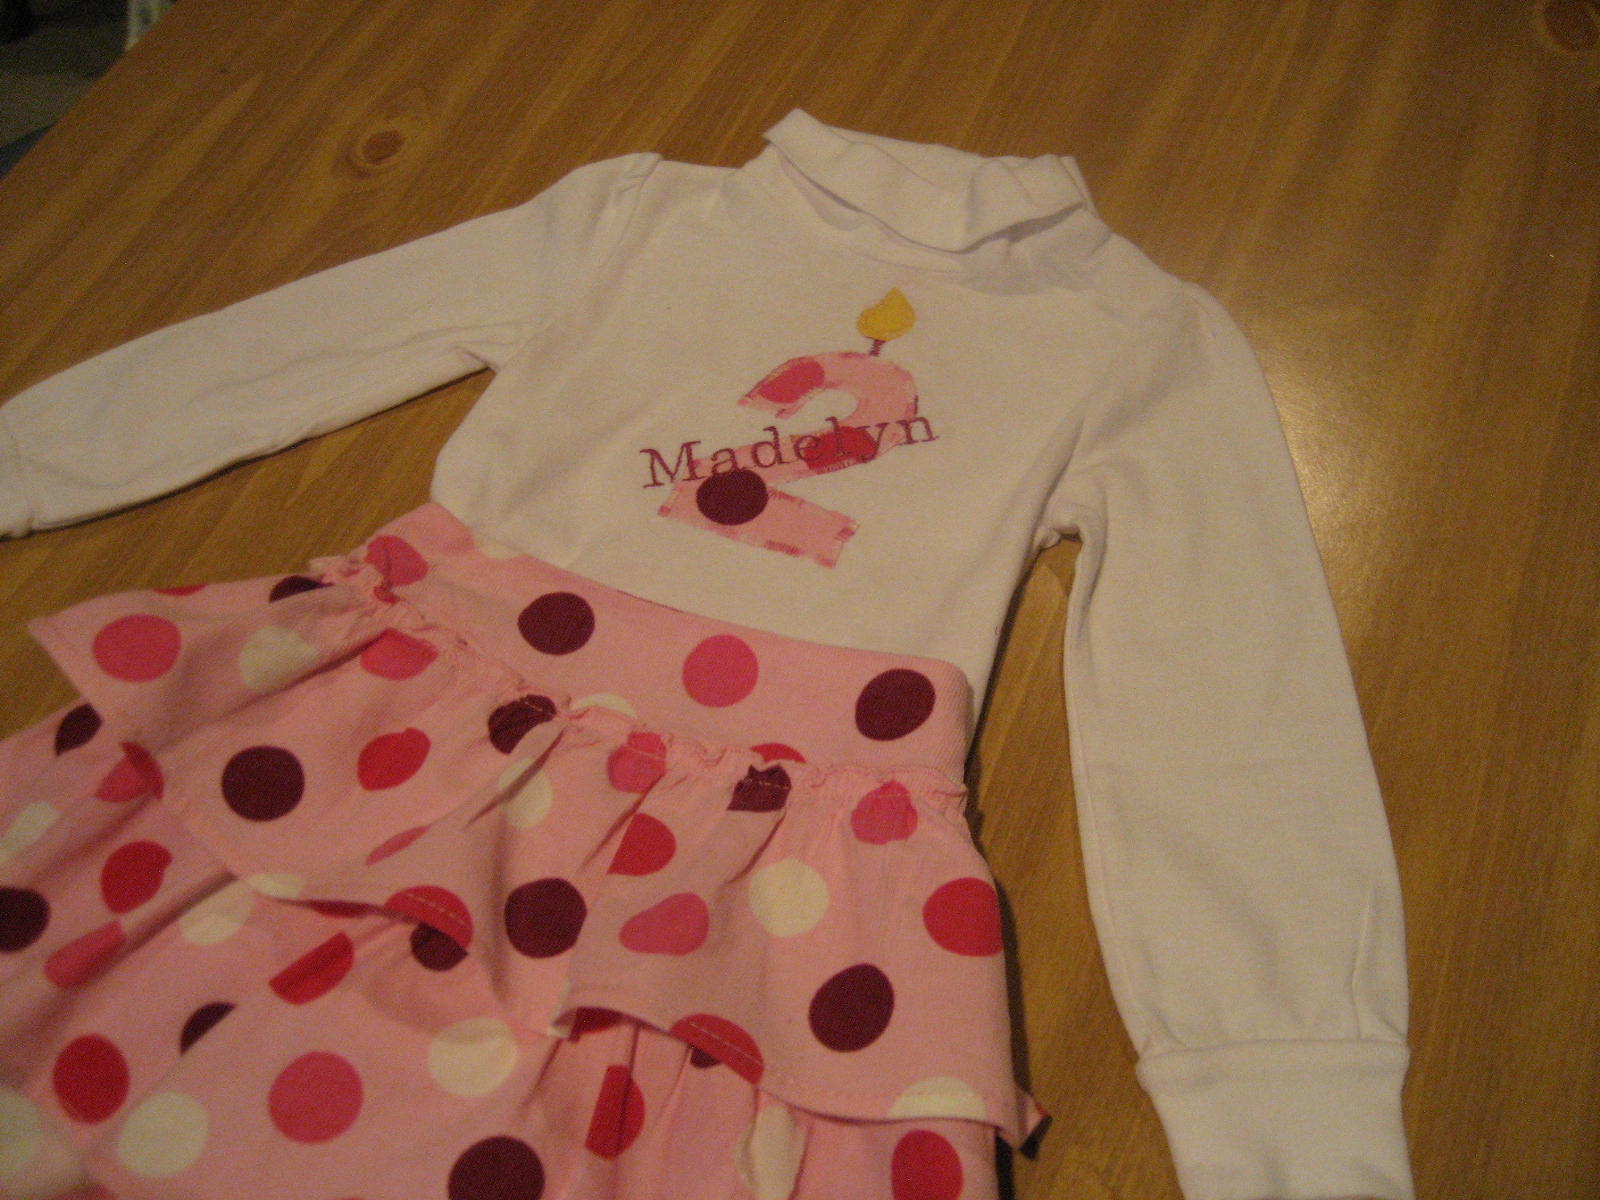
but the best picture I could find of the skirt, since she is such a busy body.


Material Needed:

1" elastic (for babies try 3/4")
20-30 yards Tulle (I like the 6" wide rolls, that way I only have to cut length wise.)
Scissors
Measuring tape
Needle and thread
Pitcher (optional)
Ribbon (optional)

Start out by measuring the waist of your model and subtracting 2-3 inches. The reason for subtracting 2-3 inches is that you want it tight and the elastic will stretch out with wear. I ran into this problem and had to take it apart and make it smaller. Sew the two ends together either with a zig zag stitch on your machine or hand stitch it. Another option is to use satin ribbon instead of elastic. It is easier to adjust the size when using ribbon, but if making the tutu for I young girl and if she is anything like my toddler, the chances are she will untie it a hundred times by the end of the day.

Measure the length of your model, double it and add an inch for knotting. For my two year old I made the strips each 23 inches long. If you choose to go the bolt route when you buy your tulle, cut each strip about 6 inches wide. I will tell you that the 6 inch rolls will save you a lot of time. The rolls probably cost a little more at $2.99 a roll at Hobby Lobby.

To assemble the tutu you can use a water pitcher to put your elastic around to hold it in place while you loop the tulle around the elastic. It is not necessary to use a pitcher, in fact I have not used one, but some think it really helps make the project go faster. You can loop the tulle either two ways, by knotting it or doing a slip knot. The the regular knot, you put the tulle even on each side and knot it around the elastic. The slip knot is when you fold the tulle in half and loop it through itself around the elastic. The regular knot I feel keeps better and gives a fuller look verse the slip knot lays straighter and closure together. Push each of the knots close together for a fuller look!

To finish off the look, trim the bottom if needed to assure that the skirt is even. You can add an embellishment to the elastic part that you sewed, I find that the tulle doesn't stay on the stitched area very well. I like the look of a satin bow!

Hint: For a fun look you can add strands of ribbon through out the skirt, attaching it the same way you did the tullu. Other Embellishments include things like rhinestones, puff balls, pom poms, flowers, Rose petals, or small premade ribbons that you can find at Micheal’s or Hobby Lobby. You can either sew these on or use a hot glue gun.

I made two skirts a red one and a black one and had her wear them together. I wanted a super full skirt and the layered look. You can also alternate colors if you want. I cut out layered circles of the black tulle and sewed it to the red to make it look like a lady bug. My daughter, the little perfectionist ripped them off, she felt they didn't belong, but it was a cute look.

Some Halloween Ideas for Tutus:
  • Red Tulle with Black Puff Balls glued on Make a LadyBug
  • Orange, Purple, and Black tulle for a witch
  • Yellow, Orange, White for Candy Corn
  • Hot Pink and Lime Green for Strawberry Shortcake
  • White and Light Pink for a “50′s” Look
  • Purple and Light green for a Fairy
  • Yellow and Black for a Bumble Bee

Pumpkin Dip

Here is an easy dip for this fall and the holidays. I have used it for Thanksgiving and Christmas events and am always asked for the recipe. I got it via Claudia Boyles, so thanks Claudia. I served it today for the KSU football party at our home. Fun time but sad at KSU's loss.


Pumpkin Dip Recipe
1 (16 oz.) container frozen whipped topping, thawed
1 (5 oz.) pkg. instant vanilla pudding
1 (15 oz.) can solid pumpkin
1 teaspoon pumpkin pie spice

Directions:
In a large bowl, mix together instant vanilla pudding mix, pumpkin, and pumpkin spice. Fold in the thawed frozen whipped topping. Chill in the refrigerator until serving. Serve it with molasses cookies or ginger snaps.

Friday, October 28, 2011

Monkey Theme Baby Shower


I gave a shower for a gal at my church. She had decorated the baby's room in a jungle/monkey theme, so this is what I decided to do for the shower theme.

Here is the monkey invitation I made that I was able to download for free from this site.
http://sabbyinsuburbia.blogspot.com/2011/02/monkey-themed-baby-shower-free.html

For the table decorations, I made a diaper cake with the monkey theme. Notice the cute monkey toy I found at Target to add to it; also the adorable shoes on top and green headband hanging from the side. I looked at different sites on how to make it but just ended up creating it my own way.
For the cupcakes, I printed the monkey face on paper and used a 1 1/2" paper punch to cut them out. I attached them to Popsicle sticks to put in the cupcakes.
I made a banner with the baby's name on it using scrapping paper. I printed the letters and cut them out in circles and glued to the triangles. I hot glued ribbon to attach them into a banner.
Besides my diaper cake as my gift, I made burp rags out of diapers with the baby's name on them. Gotta love my embroidery sewing machine!!
Also printed up this picture to be a part of the table decorations and also another gift for the baby. I will be doing another blog on this idea later.


My first Fondant Cake!

I was at a mops meeting that someone gave a presentation on decorating with fondant. I have decorated and competed using butter cream and royal frosting, but I have never really gotten into fondant. I did not like the texture or the taste of it on my cakes. This lady introduced me to Satin Ice and I find the texture is not bad, but it also taste great! I had my son's 1st birthday coming up so I thought I would give it a try.


Making the clowns was fun and easy! It was like working with playdough! The challenge was trying to keep my kids away from it. At one point my 2yr old daughter had picked off all of the balloons and ate them!

Posted by Picasa


And he liked it :>) Notice the very cute #1 Ryker shirt that Grandma made him.


Posted by Picasa

T-shirt flower and feather flowers

I had seen a site for this t-shirt flower and I pinned it on my board on my Pinterest, so go to my board or here is the site location.
http://emilys-little-world.blogspot.com/2011/02/how-to-make-t-shirt-fabric-flower.html
She gives great instructions on how to do it and it was really simple. She gives you 3 ways to attach and I think the glue gun is the only way to go, being that it dries so fast.

Now, having a husband who is into running, biking, triathlons and races, he has tons of t-shirts! I had gone through and pulled out lots of t-shirts and put them in my give away drawer. Fortunately, I had not given them away yet, the main reason to make sure Mark didn't miss any of them (which he didn't). Now if you think he is going to find out I cut up his shirt after reading this blog, don't worry, he walked in on me doing it and thought I was very clever in my recycling. This is the one I made for the strapless shirt. You see it here with feathers but in the end decided not to add them.Now for my next flowers made of feathers! So my dog, Mercy, has a problem in going out back and the only way to do that is to go out with her. And what better time to do it then when I was talking on the phone. So Mercy is out doing her thing and I am chatting on the phone with Trisha, when I look down and see a beautiful Blue Jay feather! As I walked around chatting I found more and more; either there is a very naked Blue Jay or most likely a dead one. Since Old Oliver the cat is no longer living, I can't blame him for the dead bird. Must have been one of his buddies that still come around looking for him. Anyway...got off track there...Trisha and I are talking and I exclaim that I have all these beautiful feathers that I need to find a way to use them so I can blog it. So here it is...

My feather flowers for my granddaughters...a big one for Miss Riah and a little one for either Maddy or her baby sister Ariana. I just cut them and hot glued them to a small round shape of white felt. Then I hot glued pearl buttons I found in my button box and glued a hair clip to the back.

Fun Top!

So today when I should have been working on beauty shop chairs, (so dislike to do) I got side tracked with this skirt. Trisha bought this skirt at Banana Republic on the sale rack. Looks cute on my dress form but it did not look good on any of us. So Trisha was giving/throwing it away. WHAT? Not a skirt from Banana Republic! So I had the idea that it would make a cute strapless top. Now the girls did not reject the idea totally but there was doubt in their eyes.

The problem with pulling it up and using as a shirt was the pockets on each side. They gaped open when done this way. In fact, they gaped open when worn as a skirt too, so that was one of the problems as a skirt. So I cut the pockets off as shown in the picture and just sewed up the sides.
And here it is...on my dress form with a belt and necklace added. Definitely needs a belt to help with the fullness. Once done, I decided it would be cute on Jayney, so this is being sent to you, Jayney, to wear.

Now that Jayney is getting it, I know how she likes flowers on her clothes so thought that would be a nice touch. I had seen a site for making flowers out of old t-shirts so decided to try one on my own. Here it is added to the shirt. My next blog will show you this easy flower to make along with some feather flowers.